Here's an interior view showing floor system above and below, arches and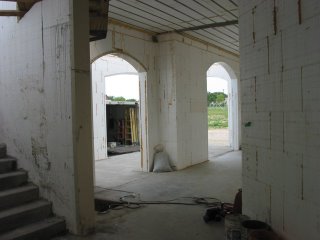 litedeck stair


 litedeck stair
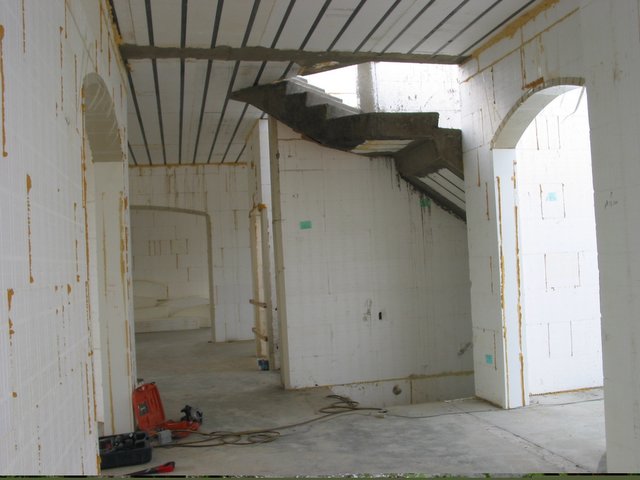

posted by Ian at 9:04 AM
![]()
litedeck stair
posted by Ian at 9:04 AM
![]()

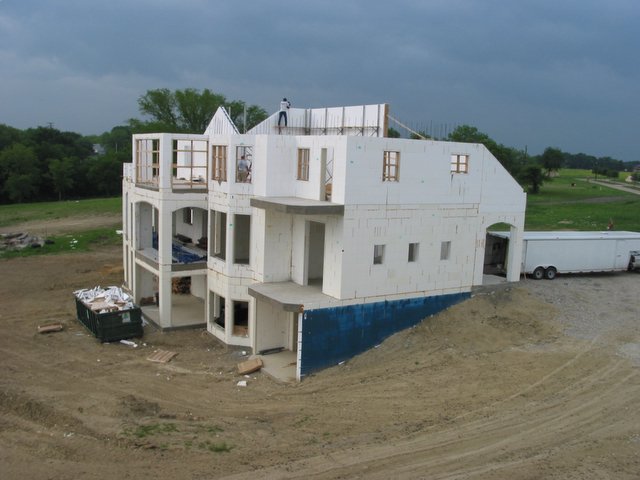
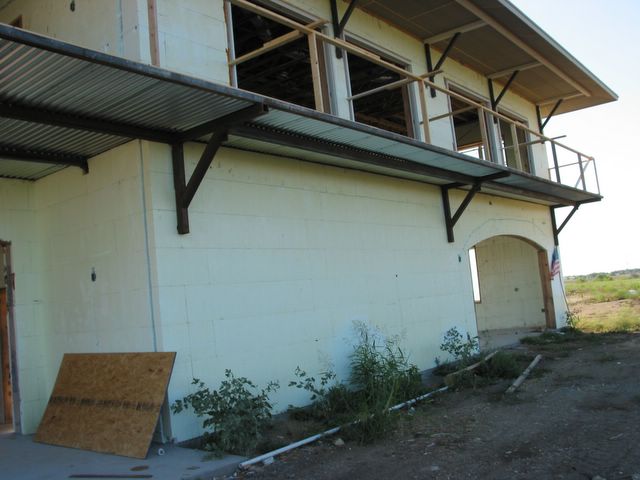
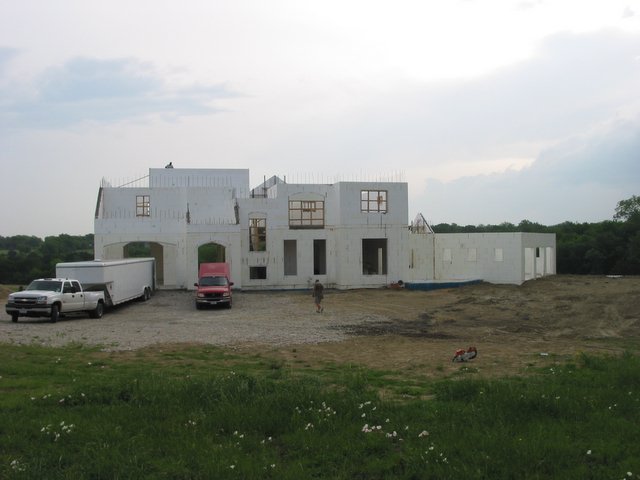 The Rake walls will have litedeck panels on them spanning up to tall wall in the middle of the house....an 8:12 pitch Litedeck roof!
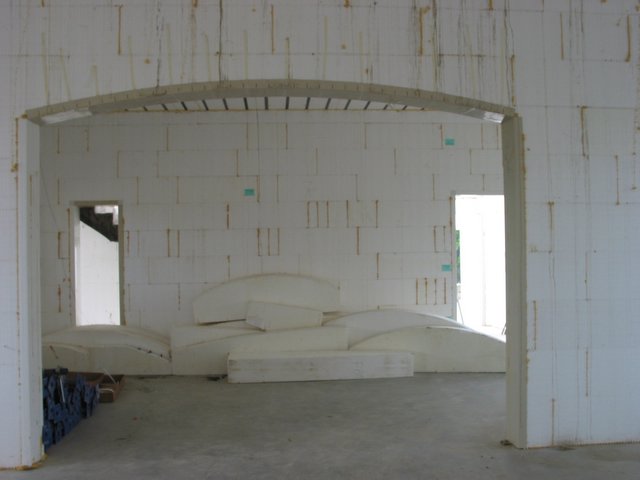 Here's an arch with the templates laying on the floor beyond. I like to use foam templates because the arches then turn out near perfect.
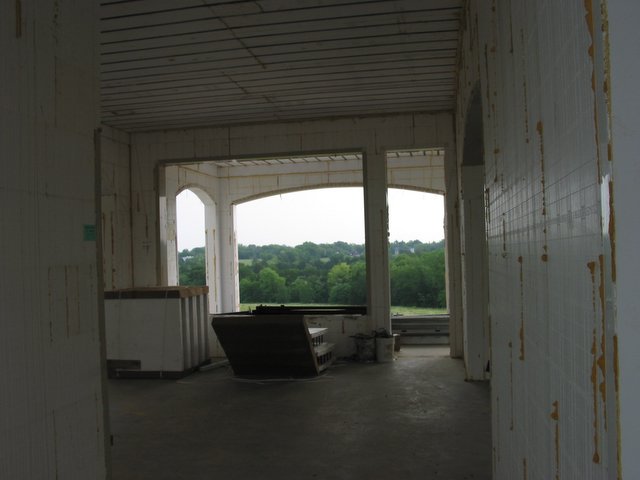
posted by Ian at 9:01 AM
![]()
posted by Ian at 6:30 PM
![]()
posted by Ian at 6:28 PM
![]()

posted by Ian at 6:26 PM
![]()
posted by Ian at 5:41 PM
![]()
posted by Ian at 5:38 PM
![]()

posted by Ian at 5:37 PM
![]()
posted by Ian at 3:02 PM
![]()
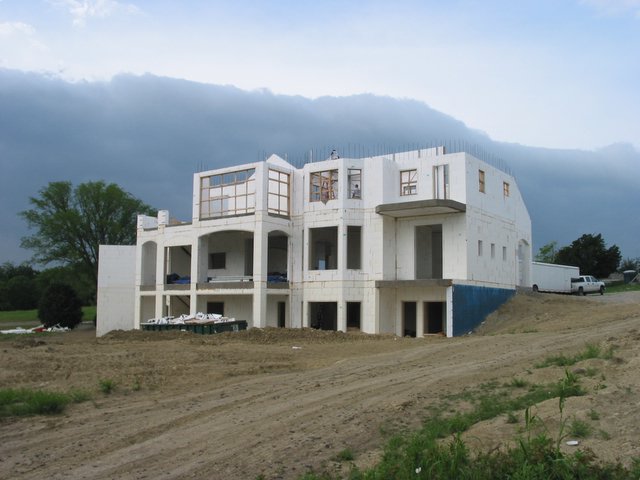
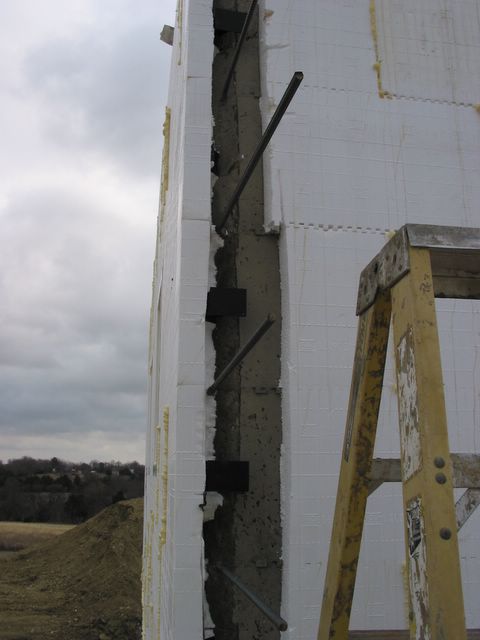
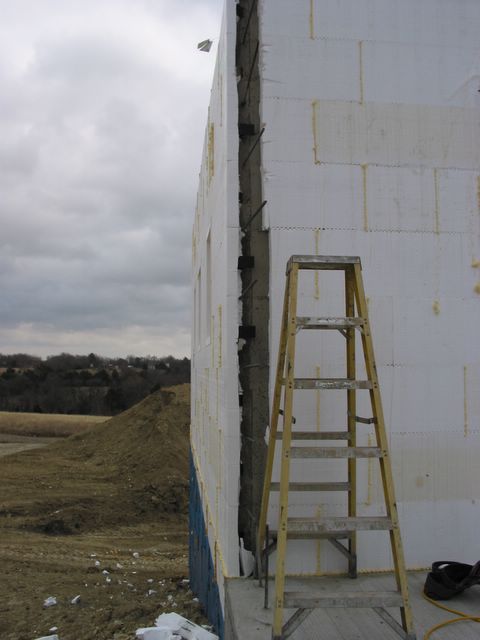
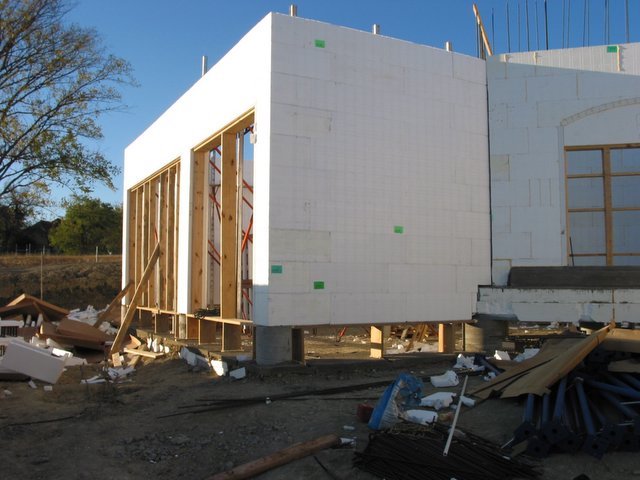 This is the lower garage level. There will be a garage above with the entry from the opposite side. Notice the walls are spanning from pier to pier to allow for expansion of the soils. The soils here are some of the worst in the nation, commonly rising as much as 36" This is an 8" concrete wall 14'-8" tall all poured at once. The wall to the right with the vertical dowels extending out has already been poured. In all, the walls in the basement level consumed 160 yards of concrete to fill.
posted by Ian at 6:43 PM
![]()

posted by Ian at 6:34 PM
![]()
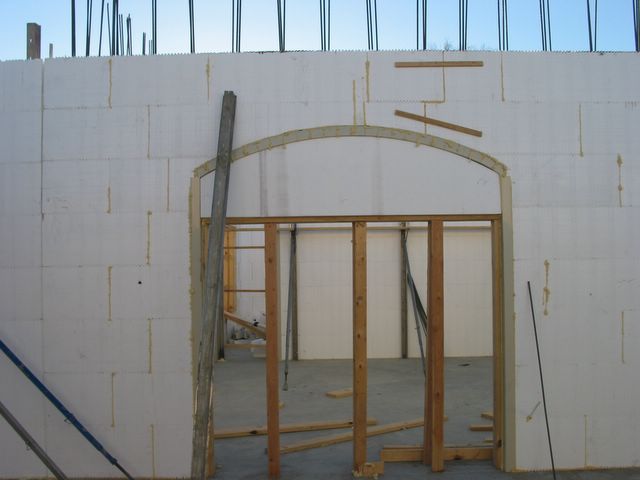
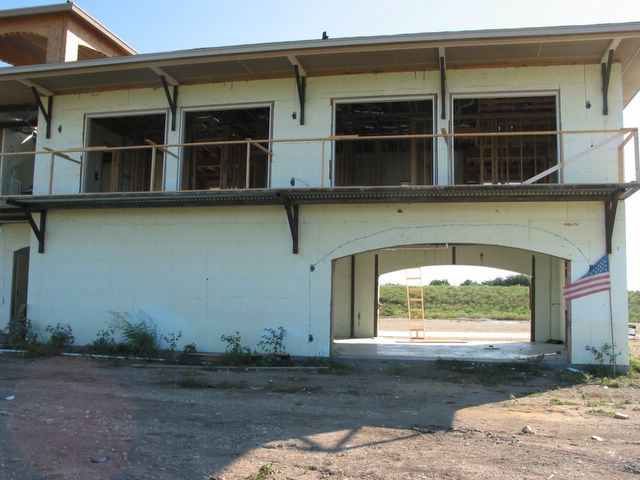
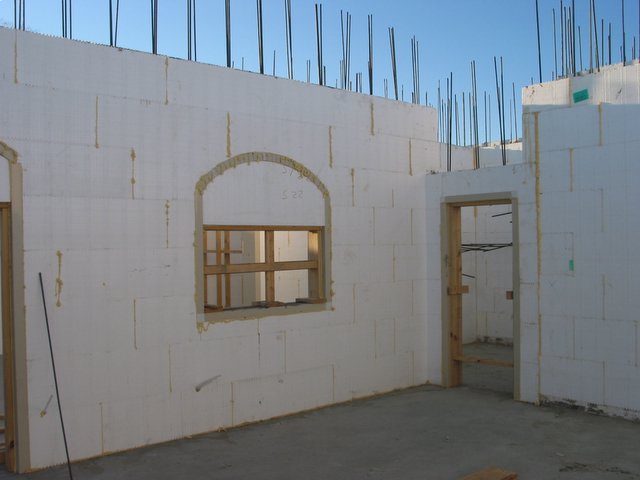 This is one way of forming eyebrow and half round arched openings. In this case, we are using Vbuck. The Vbuck is kerf cut to conform with the arch. The arch is formed on the negative side with a solid piece of cut foam and the Vbuck rests on it.
posted by Ian at 5:47 PM
![]()

posted by Ian at 6:34 PM
![]()

posted by Ian at 6:32 PM
![]()
Ian is considered a founding member of two ICF manufacturing companies and an integral part of the inception of several other ICF companies. His experience in the ICF field embraces all aspects of company operation to product design and implementation. Currently, Ian operates the ICF Builder Network, a small company providing consulting services to product manufacturers, homeowners, authors and associated industries for nearly every aspect of the ICF Industry. ICF Builders trains contractors and DIY the correct and efficient use of ICF and ancillary products. His company is responsible for many ICF installations nationwide and internationally. Member of the ICF trade association, Insulating Concrete Form Association. Associated with over 1000 ICF projects over the past 12 years. Nationally recognized in the ICF field. Author of many ICF related articles. Ian can be reached at ian@icfresource.com